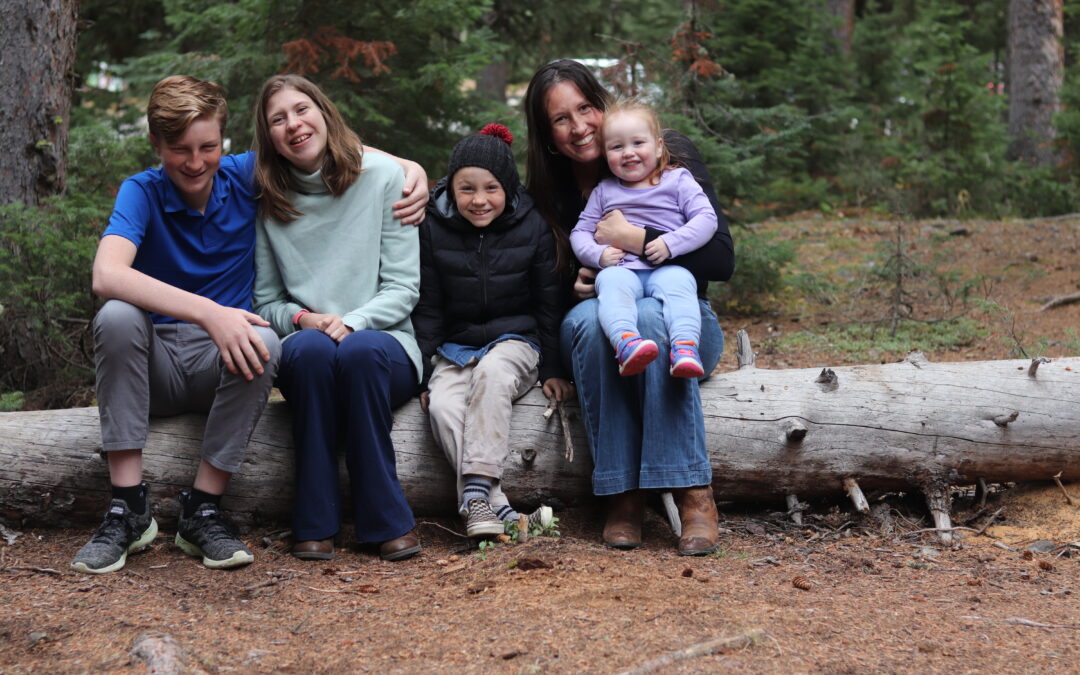
GAPS Intro Chicken Stock in 4 Easy Steps
May 22, 2013 By Cara Leave a Comment
GAPS Intro Chicken stock
This is taken from What Can I Eat Now? 30 Days on the GAPS Introduction Diet Handbook. GAPS Intro chicken stock is different than stock later on, as you don’t brown the bones at all so the stock is pale. This is to prevent any harder to digest well cooked pieces of chicken from slipping through into the stock. You can still salt it to taste with sea salt, and broth is recommended to be served with every meal while on Intro.
Equipment:
Ingredients
Whole chicken or chicken pieces
Directions:
Rinse chicken. Reach inside cavity and remove giblet package if using a whole chicken. Remove giblets from package and add to the stock pot. Place chicken in the stockpot.
Fill pot ¾ full with filtered water. Cook on medium-high until bubbling, then reduce heat to low and allow to simmer, covered, at least 8 hours. When done, allow to cool then pour stock through a strainer and transfer to mason jars to store in the fridge.
To strain, I use a mesh strainer over a pitcher-style 4-cup measuring cup. This makes transferring the stock to the mason jars easier; I do one jar at a time, cleaning out the strainer as needed during the process.
Do not discard the soft gelatinous parts around the bones or the skin; reserve that and use an immersion or regular blender to blend it into your stock and soups.
The fat will rise to the top of the jars in the fridge, which can be included in soups or used as a fat for cooking.
Pick any meat off the bones that you can after the chicken stock has been removed, reserve meat to add to soups or serve alongside. Discard the remaining bones in the pot.
Pin ItThis is taken from What Can I Eat Now? 30 Days on the GAPS Introduction Diet Handbook.
Homemade Apple Chips
May 21, 2013 By Cara Leave a Comment
When Courtney from The Polvika Family visited this past winter she made apple chips. She didn’t cut out the core before setting them to dry, which is genius This saves tons of time, and the seeds just drop out while you’re cutting or as they dry. Now I always make my apple chips like this. We like to buy the less expensive organic red delicious from Costco for drying. They’re kind of mushy for eating fresh, but they’re wonderful dried and cost less than other apples.

Dried Apple Chips
2-3 apples per dehydrator tray
Juice of 1 lemon, optional
1 teaspoon cinnamon, optional
Rinse apples, thinly slice crosswise with a butcher knife. Lay out on dehydrator trays and sprinkle lemon juice over the top to prevent browning. Sprinkle with cinnamon if desired. Dry on low overnight, or until crispy. We like separate them out into snack bag sized portions for easy additions to school lunches right from the dehydrator tray.
Need a reminder to buy fruit and keep the dehydrator in use? Check out my Grain Free Meal Plans- where I provide weekly shopping lists, daily recipes, and preparation reminders so you don’t forget about simple easy delicious snacks like this! Click here!
See more dehydrator recipes at the Dehydrator Recipe Roundup here!
We use the 5-tray Excalibur dehydrator, but pretty much any kind would work for this recipe. Click here to see the one we use.
Pin It

Immunity Smoothie Recipe (and a great way to use leftover smoothies)…
We’ve been passing around a spring cold the past few weeks in our house. To boost our immunity we take elderberry syrup, and a couple weeks in I figured out it was easier to sneak the dose into a smoothie or popsicle than it was to spoon it out to everyone day after day. Not [...]
Pin It
Grain Free Meatballs with Grated Veggies for moisture and flavor…
Grain Free Meatballs These meatballs are packed with veggies for flavor, moisture, and nutrition. These are from the Grain Free Freezer Cooking Guide and the recipe makes enough that you’ll be able to pull out a few meatballs for lunch, or to add to red sauce and spaghetti squash for dinner, or eat as a [...]
Pin It
20 Things To Do With Your Dehydrator…
I wasn’t sure how much I would use a dehydrator, so I first borrowed one from a friend. It turns out I had that thing running day in and day out, so I quickly purchased my own. I like the Excalibur because the large square trays are easy to arrange any shaped food on, the [...]
Pin It


